Key Takeaways
- Endless Creativity: DIY clay projects offer a versatile canvas for crafters of all skill levels, allowing for both functional and decorative creations.
- Types of Projects: Engage in a variety of projects, from practical items like bowls and planters to decorative pieces such as sculptures and jewelry.
- Essential Materials: Key materials include polymer clay, air-dry clay, and various tools like rolling pins and sculpting tools, which enhance the crafting experience.
- Step-by-Step Guidance: Clear instructions make it easy to create popular projects, ensuring successful outcomes and a rewarding crafting experience.
- Crafting Tips: Follow best practices such as selecting the right clay, maintaining a clean workspace, and properly sealing finished projects for lasting durability.
- Enjoy the Process: Embrace the joy of crafting; patience and experimentation are key to developing skills and achieving unique designs.
Crafting with clay opens a world of creativity and fun. DIY clay projects are perfect for anyone looking to unleash their artistic side while creating unique, personalized items. From decorative pieces to functional objects, the possibilities are endless, making it an ideal pastime for crafters of all skill levels.
Whether it’s molding a small figurine or designing custom home decor, working with clay allows for self-expression and experimentation. With just a few basic materials and some inspiration, anyone can dive into this rewarding hobby. Discovering the joy of DIY clay projects not only enhances creativity but also provides a satisfying sense of accomplishment.
DIY Clay Projects
DIY clay projects provide an accessible medium for creativity. These projects span various skill levels, making them suitable for beginners and seasoned artists alike. Individuals can create decorative items, such as sculptures and wall art, or functional pieces, including bowls and planters. The versatility of clay allows for endless possibilities, encouraging unique designs and personal expression.
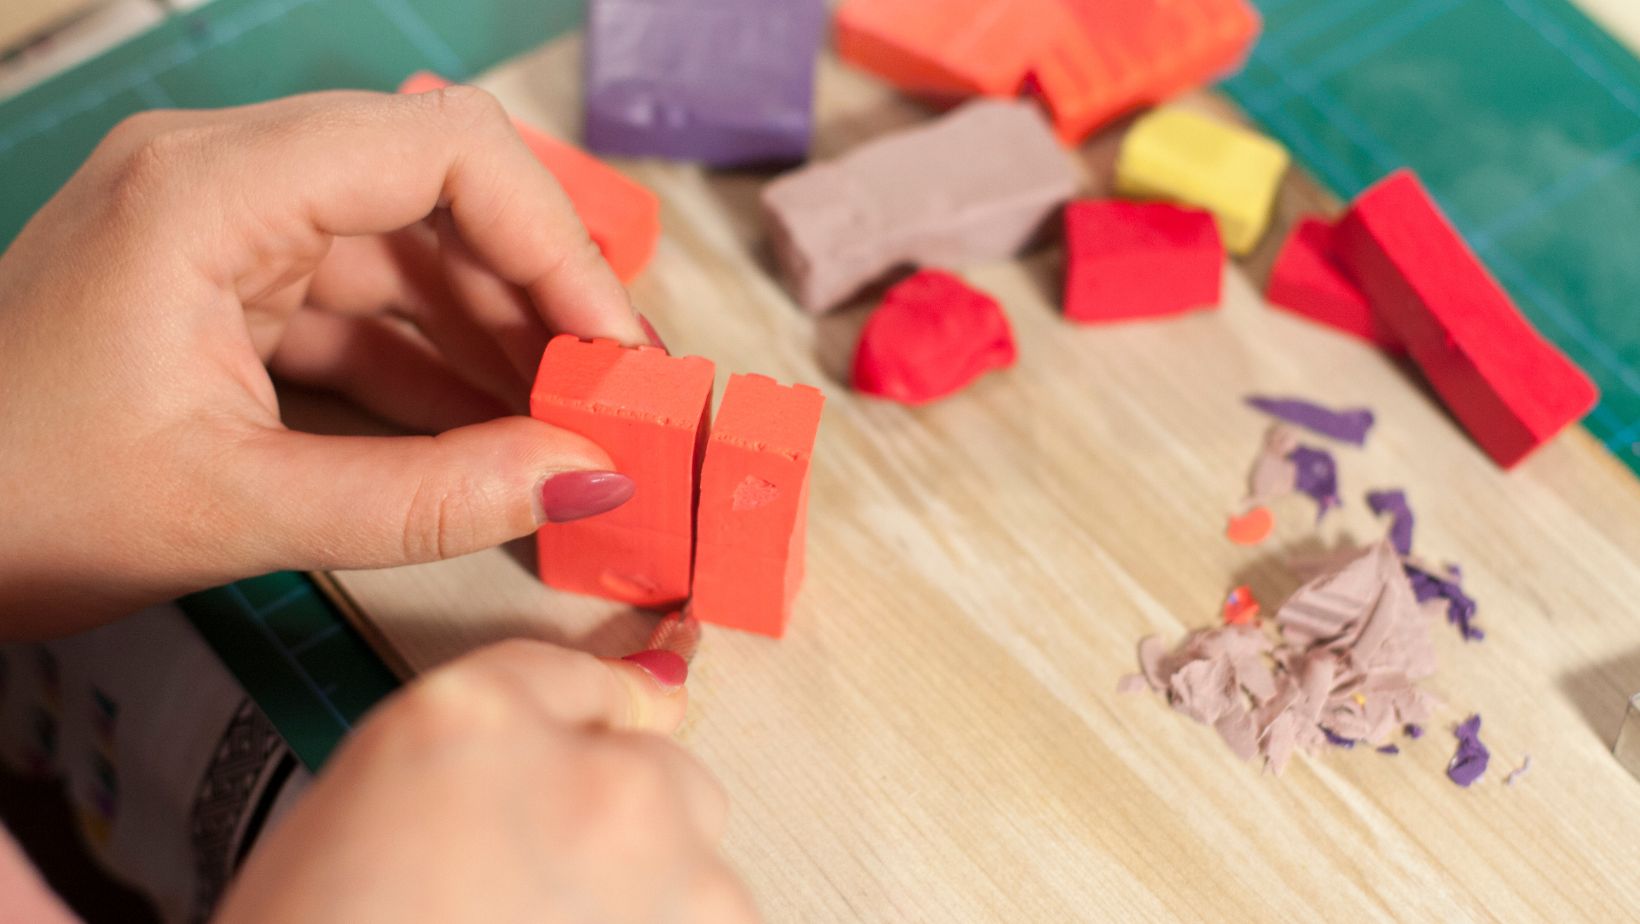
Essential materials for these projects include polymer clay, air-dry clay, or natural clay. Tools such as rolling pins, sculpting tools, and cutting implements enhance the crafting experience. Experimentation with colors and textures adds to the creative process, resulting in bespoke items that reflect individual styles.
Participating in DIY clay projects nurtures creativity and builds confidence. Creating a finished piece offers a rewarding sense of accomplishment. As individuals explore different techniques, they discover their preferences and refine their skills, further enriching their crafting journey.
Types of DIY Clay Projects
 DIY clay projects encompass a variety of functional and decorative options, appealing to different creative preferences. Here are two primary categories:
Functional Projects
Functional projects emphasize utility alongside creativity. Individuals can create items that serve practical purposes, such as:
- Bowls: Create unique designs for serving or storage.
- Planters: Craft personalized pots to house plants, allowing for various sizes and styles.
- Cups and Mugs: Design custom drinkware that combines aesthetics with functionality.
- Utensils: Form tools like spoons or spatulas, suitable for serving or cooking.
- Coasters: Produce decorative and absorbent surfaces to protect furniture.
These projects not only enhance living spaces but also provide everyday functionality.
Decorative Projects
Decorative projects focus on aesthetics and artistic expression. Examples include:
- Sculptures: Mold figurative or abstract shapes that enhance home decor.
- Wall Art: Create unique pieces to hang, offering color and texture to interior spaces.
- Jewelry: Craft bracelets, earrings, or necklaces using intricate designs and vibrant colors.
- Ornaments: Design seasonal or themed decorations for celebration or home embellishment.
- Magnets: Form small creations that add personality to refrigerators or magnetic boards.
These projects encourage individuality and creativity, transforming spaces with personal flair.
Materials Needed for Clay Projects
Clay projects require a variety of materials, including different types of clay and essential tools. Understanding these components enhances the crafting experience and ensures successful results.
Types of Clay
- Polymer Clay: This versatile, oven-bake clay becomes hard when heated. It’s available in various colors and can be mixed for custom hues, making it ideal for intricate designs.
- Air-Dry Clay: This clay dries without the need for baking. It works well for beginners and allows for easy post-crafting painting or decorating.
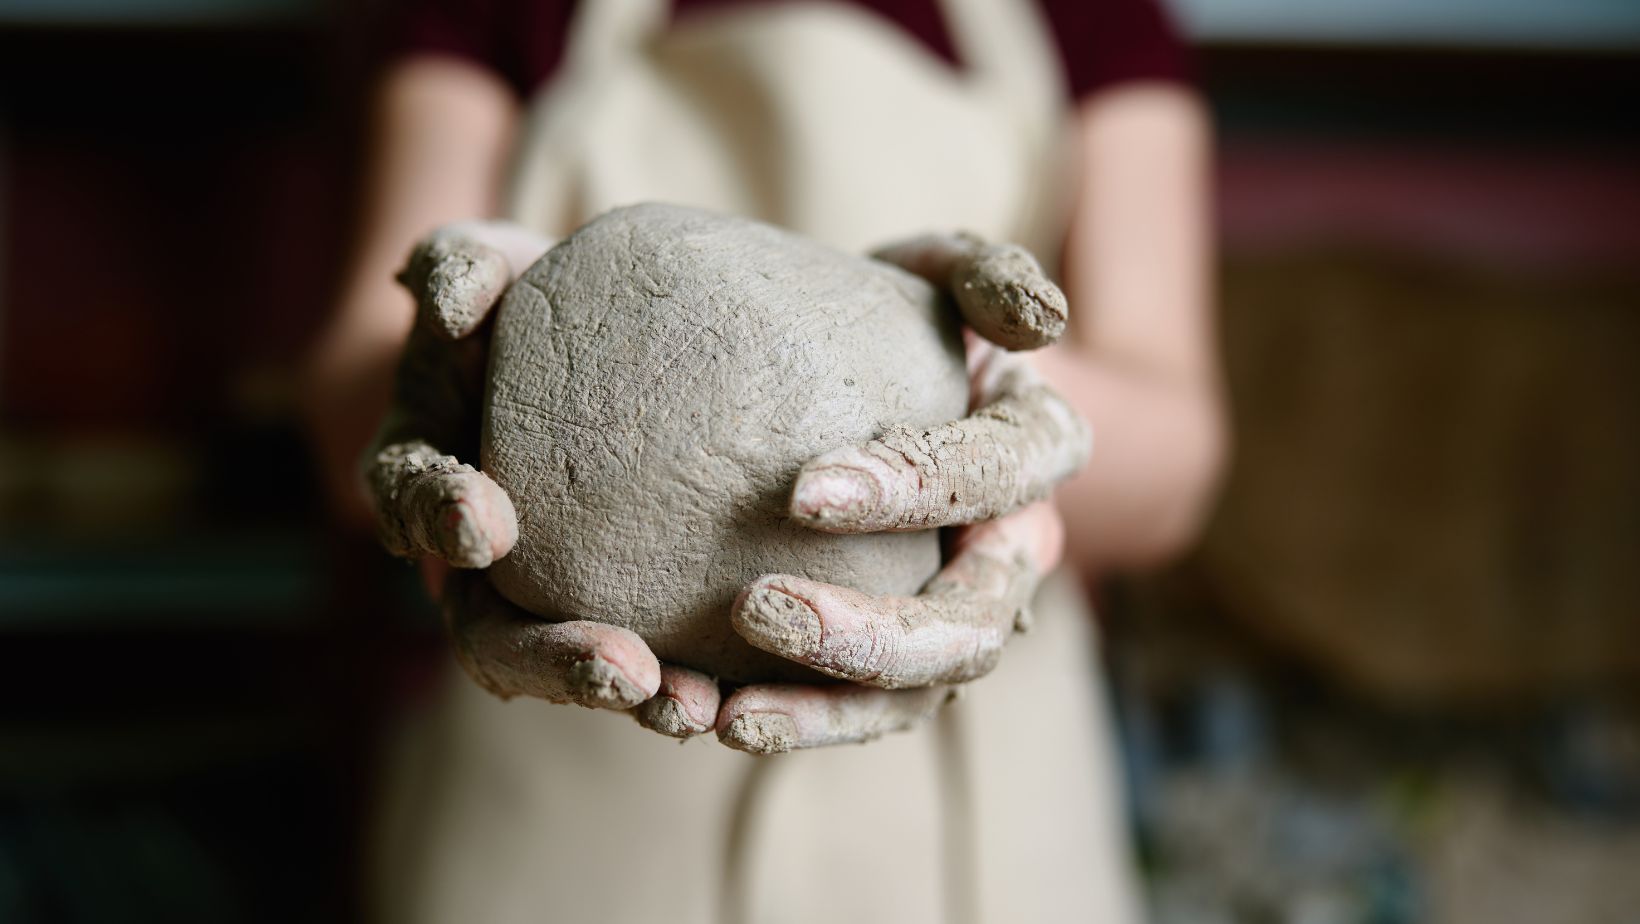
- Natural Clay: This clay type requires a kiln for firing. It provides a traditional crafting experience and is perfect for functional and artistic creations that can withstand the test of time.
- Rolling Pins: Used for flattening clay to desired thickness, essential for both decorative and functional projects.
- Sculpting Tools: These include various blades, spatulas, and modeling tools for shaping and detailing designs.
- Cutters: Cookie cutters or specialized clay cutters help create precise shapes and sizes.
- Work Surface: A clean, smooth surface prevents sticking and makes cleanup easier.
- Paintbrushes: Useful for applying finishes or adhering pieces.
- Sealants: Non-toxic sealants protect finished projects, enhancing durability and aesthetics.
Step-by-Step Guide to Popular DIY Clay Projects
 This section outlines step-by-step instructions for popular DIY clay projects, focusing on creating practical and decorative items. The guidance provided ensures clarity for all crafting enthusiasts.
Creating Clay Hangers
- Gather Materials: Obtain air-dry or polymer clay, rolling pins, a knife or cutters, and a clay extruder for precise shapes.
- Prepare the Clay: Knead the clay until it’s pliable. For polymer clay, follow baking instructions for temperature and time.
- Roll Out the Clay: Use a rolling pin to flatten the clay to an even thickness, typically about 1/4 inch.
- Cut Shapes: Utilize cutters to create desired shapes for hangers. Consider using simple forms like circles or stars.
- Add Holes: Before drying or baking, make holes at the top of each shape for hanging. Use a straw or a small cutter.
- Bake or Air-Dry: Allow the clay to dry based on the type used. Polymer clay requires oven baking at the recommended temperature.
- Finish the Hangers: Once cooled, paint or seal the hangers as desired. Select vibrant colors or finishes that match personal style.
- Gather Materials: Collect air-dry or polymer clay, a rolling pin, cutters, and decorative tools like stamps or textures.
- Prepare the Clay: Knead the chosen clay until it’s soft and workable, ensuring it stays workable throughout the project.
- Roll Out the Clay: Roll the clay to an even thickness of about 1/4 inch, making enough for multiple coasters.
- Cut Shapes: Use a round cutter or template to create coaster shapes. Standard coaster dimensions range from 4 to 5 inches in diameter.
- Add Custom Designs: Press stamps or texture tools into the clay for unique patterns. Personalize with initials or patterns.
- Create Drainage Holes: For functionality, it’s optional to create small holes or indentations on the coaster surface to prevent water pooling.
- Dry or Bake: Allow the coasters to air-dry completely or bake according to the instructions for polymer clay.
- Seal for Durability: Once dry, apply a water-resistant sealant to protect the coasters from moisture and stains. Select a clear sealant to maintain the design.
Following these steps will yield beautiful, personalized clay hangers and coasters, enhancing home décor while showcasing individual craft skills.
Tips for Successful Clay Crafting
- Choose the Right Clay: Select the appropriate type of clay based on project needs. Polymer clay works well for detailed projects, while air-dry clay caters to beginners. Natural clay benefits from kiln firing, adding authenticity to creations.
- Prep Your Workspace: Maintain a clean, organized workspace. Use a sturdy table or workstation covered with a non-stick mat to prevent clinging and to facilitate easy cleanup.
- Gather Essential Tools: Include tools such as rolling pins, sculpting tools, cutters, and paintbrushes. These tools enhance precision and creativity during the crafting process.
- Knead and Condition Clay Properly: Condition clay by kneading until it’s soft and pliable. This step prevents cracking and ensures better shaping and molding.
- Work in Small Batches: Manage clay in small portions. This practice allows for easier handling, better focus on details, and minimizes the risk of the clay drying out before completion.
- Experiment with Colors and Textures: Mix different colors of clay to achieve unique shades. Incorporate textures using tools or natural items like leaves or fabrics to add depth to finished pieces.
- Support Structures When Needed: Use support for larger projects. Props or internal structures can help maintain shape during the crafting process and while drying.
- Pay Attention to Drying Times: Follow recommended drying times for the specific clay type. For air-dry clay, allow full drying before handling, while polymer clay requires baking as per package instructions.
- Seal Finished Projects: Apply sealants to completed items. This step enhances durability, provides a glossy finish, and protects the artwork from moisture and dirt.
- Stay Patient and Enjoy the Process: Clay crafting takes practice. Embrace potential mistakes as part of the journey, and appreciate the creative expression that comes from experimenting with different techniques and ideas.
DIY clay projects offer a wonderful opportunity for creative expression and skill development. With minimal materials and a bit of imagination anyone can create functional and decorative pieces that reflect their unique style. The versatility of clay allows for endless possibilities whether it’s crafting a beautiful planter or a stunning piece of wall art.
As individuals dive into this rewarding hobby they’ll discover the joy of experimentation and the satisfaction of bringing their ideas to life. Each project serves not only as a creative outlet but also as a way to build confidence and refine techniques. Embracing the journey of clay crafting can lead to beautiful creations and cherished memories.